Add Pattern Picture
Add Images / Picture of pattern envelope to Pattern Record
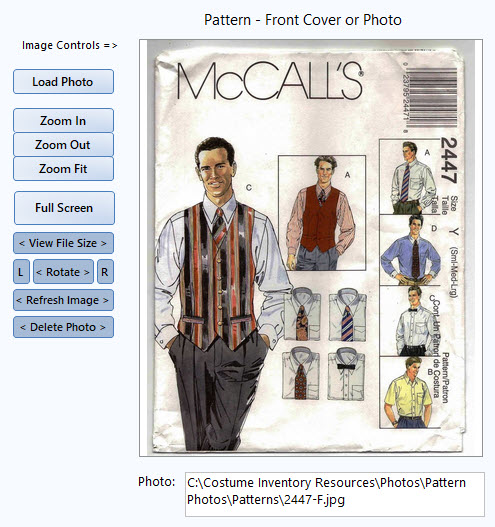
There are two frames that will accept a picture of the pattern (or any image you wish to enter). The captions say Pattern Front and Back but these are just suggestions. You may place the image of the pattern envelope, a photo of a completed garment or leave it blank.
These frames will display a picture from a file. Once the picture is in the frame you may zoom in and around the image to get a better look at the details. This is especially helpful for the pattern back as the writing is usually very small. To see the image larger you can click on “Full Screen” and the image will open in a pop-up.
The buttons on the left of the first image control the frame on the left. The buttons on the right side of the screen control the right image.
The images from a file can be a .jpg, .bmp or .png file type.
Notes about file size: The size of the photo is important to consider. The database itself will not care if the file is large or small as the photos are linked to the database record. BUT - in the Advanced Search one of the results options is to view a Photo Gallery. If there are many hundreds of patterns in the collection and each has photos that are over 1 MB in size - the photo gallery may not be able to display them all. Also for reports which display the photos you may run into a problem with the photos being displayed if there are too many that are very large. Look to this Appendix with more information on resizing photos.
Inserting a picture from a file
To load a picture into the Front Cover Image - click on the "Load" button to the left of the Front Cover Image field. The Windows Browse window will open and you can select the file (.jpg, .bmp, etc) and the path to that file will be saved in this record. The same procedure applies to inserting a picture in the Back Cover Image field - just use the buttons to the right of the Back Cover Image.
Images of the Pattern envelope can be created by scanning the envelope front and back and the images saved to a *.jpg file. You can take photos with your camera but scanned images show the details of the printing much better.
Zoom In / Out
To magnify an image click on the" Zoom In" button. Once the image is too large to be displayed in the frame a 'hand' appears for the cursor and it allows you to move around in the image to see the details better.
To reduce the image you can click on the "Zoom Out" button or the "Zoom to Fit" button and it will go back to it's original size.
View File Size: The photos linked to the Pattern record should not be over 750 kb in size. If the file it larger than that it may not display on a form or report that has more than 3 photos. To see the size of your photo, click on the "View File Size" button. If you need to reduce the size of your photos, please refer to the Costume Inventory Resources Resource Guides at : https://www.support.costumeinventory.com/resource-guides . Look for the Reduce Photo Size guide.
Rotating the image
If your image comes in rotated (i.e. you took a picture of the pattern and loaded it in and now it is 'sideways') you can rotate the image 90 left or right. Look for the Rotate "L" and "R" buttons. This is a permanent rotation of the photo.
Delete Image
To delete the image click on the "Delete Image" button next to the image. The image will be removed. There is no "Undo" function to retrieve it after deleting. To put the image back in you must 'Load' it it again.