Company Setup:
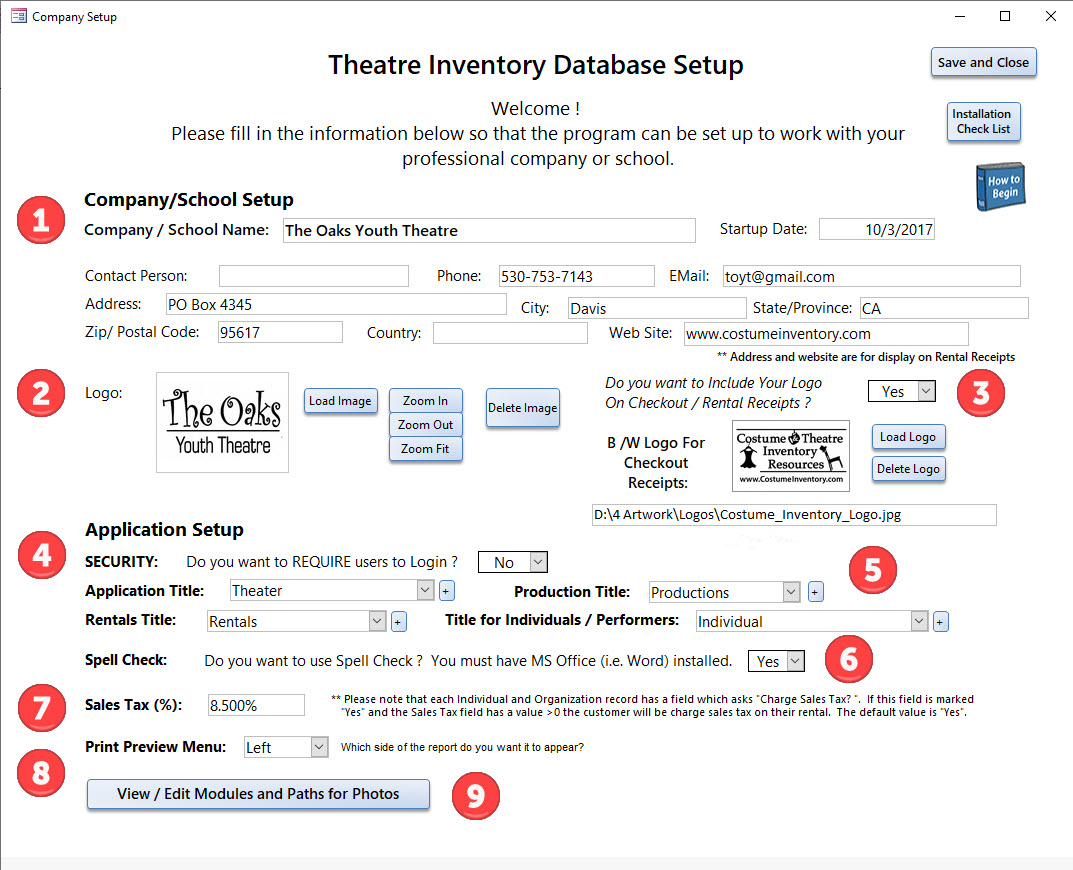
The Theatre Inventory Database Setup screen is designed to help you customize your database. There are many sections of the setup screen:
1) Company / School Name. Please enter your school, theatre, company name here. It will appear on the Main Menu, most forms and the top of the reports. If you don't enter a name here everytime you open the database this form will pop open and remind you to enter the name.
2) You may load a b&w or color logo here. This will appear on the Main Menu and some menu forms.
3) This Logo is for the Check-out / Rental receipts. You can enter a B&W logo that will print in the upper left corner of the receipt.
4) Security - you can turn on Security so that all users have to log in. Each user can be assigned different levels of access (Admin, Read-only, etc.) See the User Guide entry on Security here.
5) The titles for the Application, Productions, Rentals and Individuals can be changed. On the Main Utilities menu are links to the tables with the choices for each title.
Application Title: You may select which title you want for your database. The default is "Theatre Inventory Database" but you can choose "Costume Inventory Database", "Properties Inventory Database" or any of the other options.
Production Title: You may select which title you want on the productions screen.. The default is "Productions" but you can choose from "Performances", "Ballets", etc.
Rentals Title: You may select which title you want on the Check-outs and Rentals screen. There are several to choose from.
Individuals Title - You may select "Individuals", "Students", "Performers", etc.
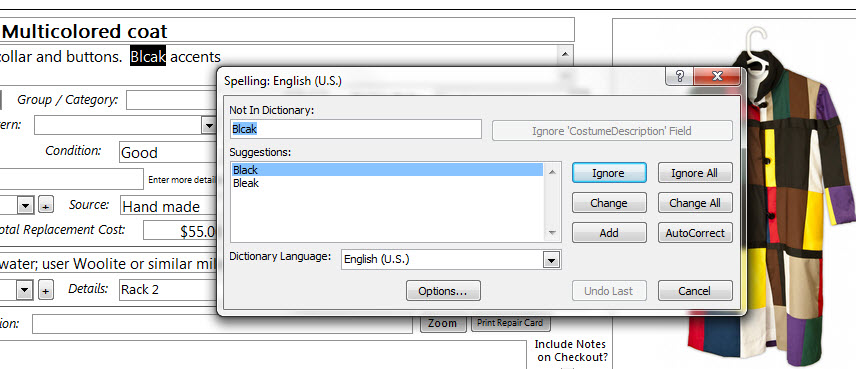
6) Spell Check - If you have the full version of MS Access and MS Word you can select to have a Spell Check turned on. It is not an automatic spell check but a manual system. If you turn on Spell Check here you will see a Spell Check button at the top of the Costume Pieces, Ensembles, and Props screens.
Each word not found in the dictionary is highlighted. You have the usual options to Change, Ignore or Add to dictionary.
7) Sales Tax If you rent or check out costumes / props and need to charge Sales Tax - you can enter the Sales Tax % here.
For 8.5% enter 0.085 and the program will convert it to the correct %.
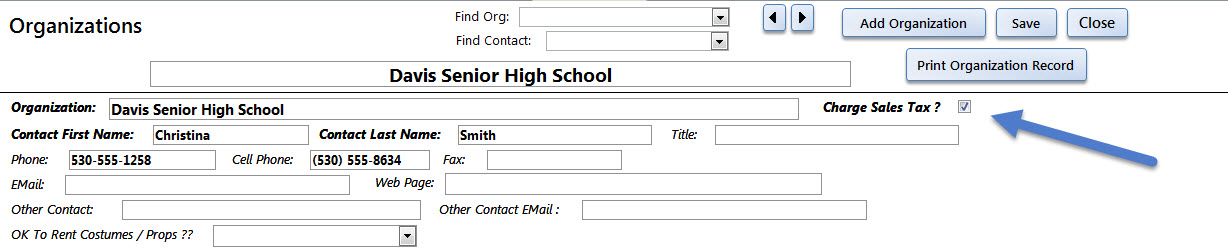
Note: Each Renter's record (both Individuals and Organizations) have a field called "Charge Sales Tax ? ". The value here must be "Yes" or Checked for sales tax to be calculated on their rental.
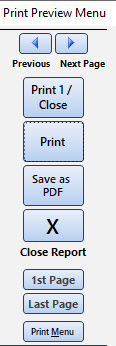
8) Print Preview Menu - The Print Preview menu can appear on the left or right side of a report. Select the side you want to see it on. Note - if you pick the Right Side and have a small laptop monitor you might not see the menu.