(c) Costume Inventory Resources, 2018 The Music Dept. Inventory Database and the User Guide are products of Costume / Uniform Inventory Resources www.costumeinventory.com
Company / Application Setup
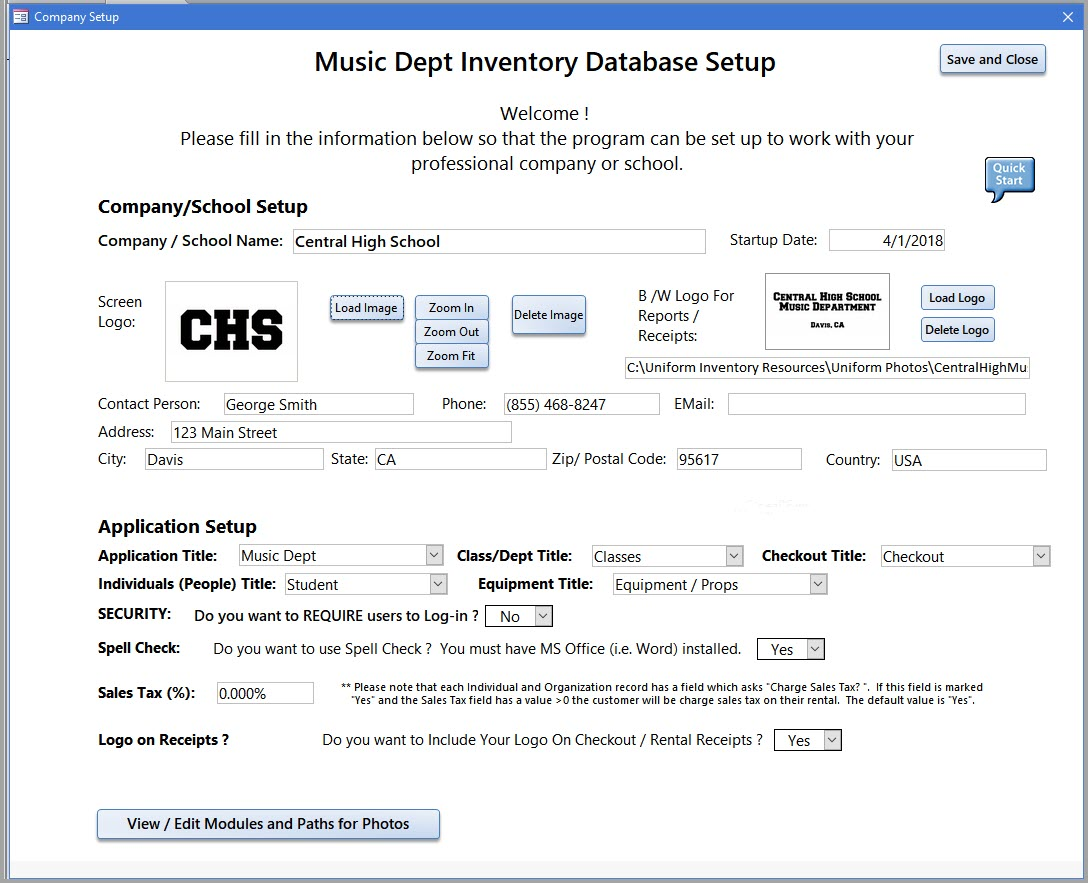
Company Setup:
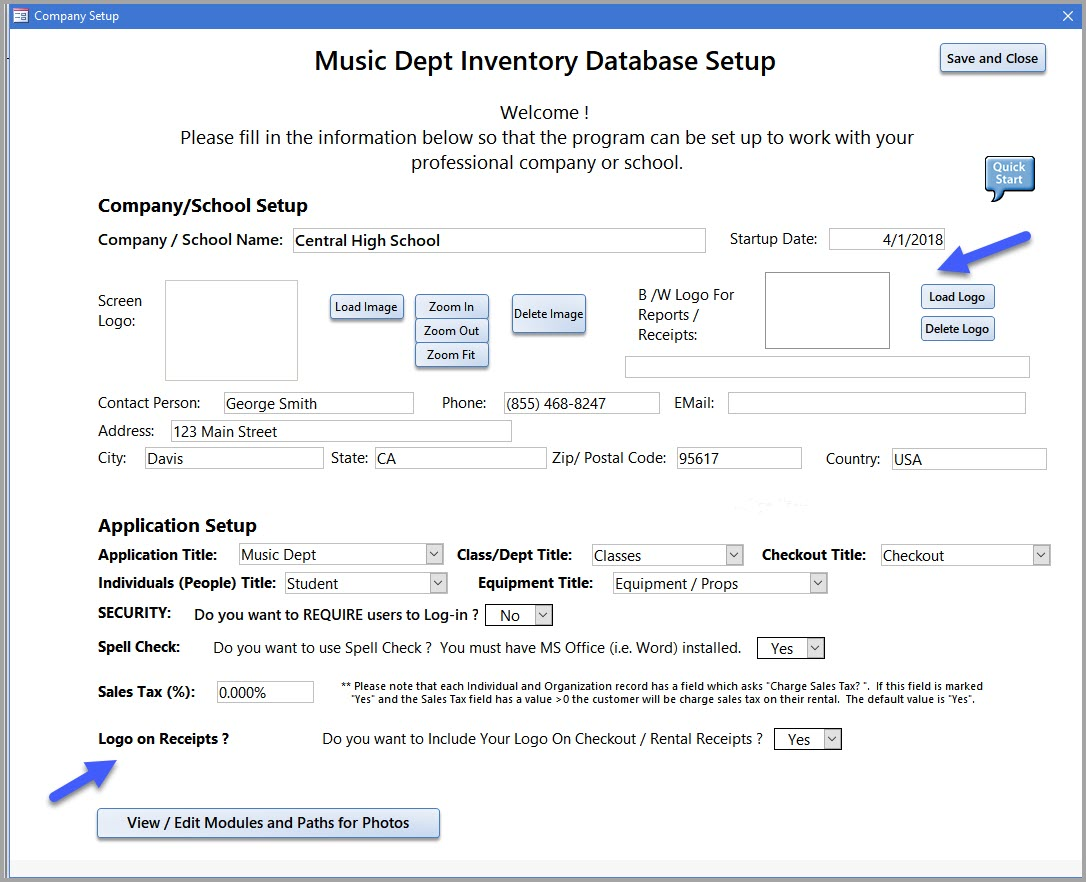
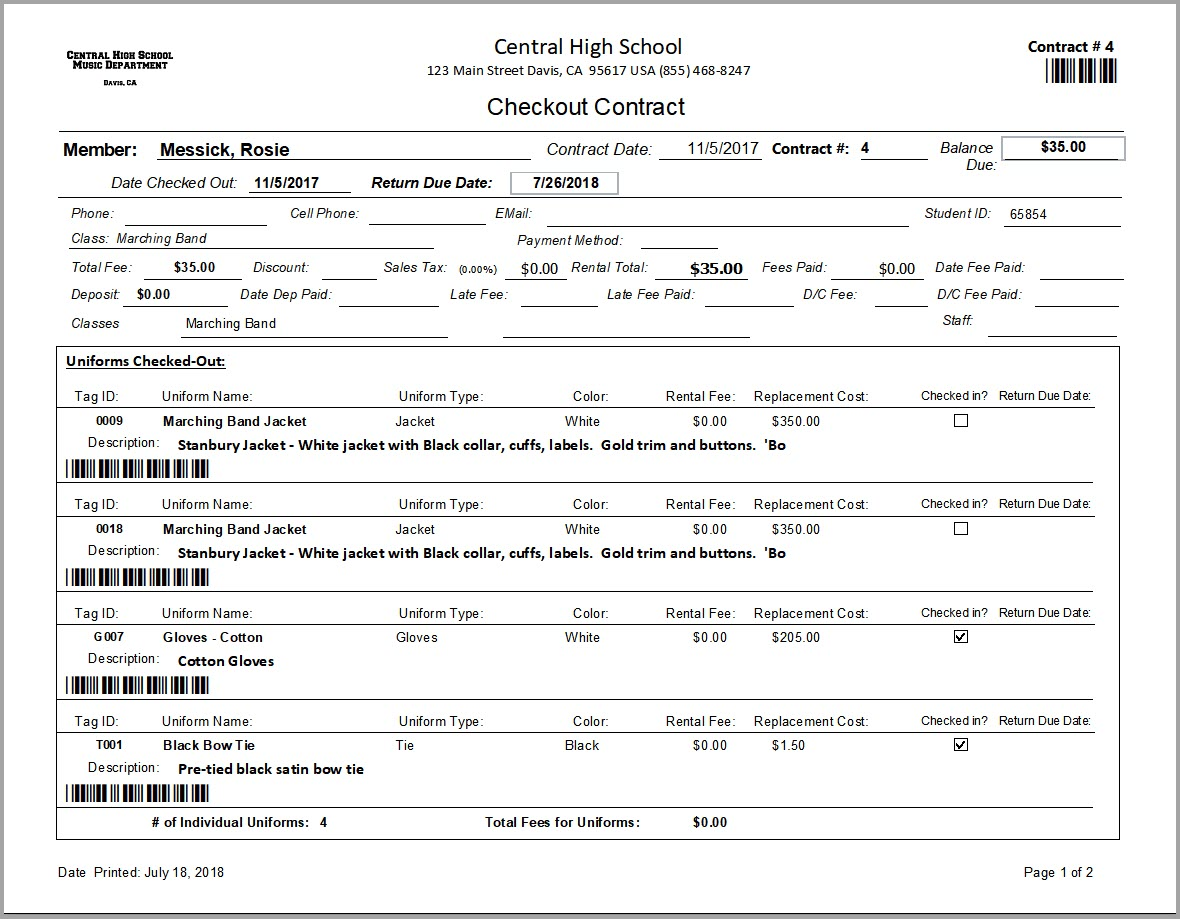
Enter your company/ school name. Click ‘Load’ to insert your logo / image file. The Company name, address and phone number will be displayed on the Rental / Check-out Receipts. If you fill in the Company name - this screen will not appear automatically again. If you leave the Company Name blank - this screen will appear every time you open the database.
Application Setup:
Security: You may select to require users to Log-in with a username and password. If you Require users to log-in you will need to set up user accounts for each person and set the security level (Admin, Staff, Read-only). See the Utilities / Staff section to add / edit users.
Application Titles: You may select the text to see for the Application title (Music Dept Inventory Database, Athletic Dept Inventory Database, etc) , the Class / Dept title (Class, Activities, etc), the Rentals title and the Individual / People title. To update the list of options for each title, go to the Utilities Main Menu and look for the update form for each one.
Spell Check: If you have the full version of MS Office (not the Run-time) you may choose to include a spell check button on the Uniforms, Instrument and Equipment screens. The button is very small but you can see it next to the Print button. Clicking on the button will start a Spell check for the current record. This is not a spell-check-as-you-type system but a "check on demand".
Sales Tax: If your organization charges Sales Tax on rentals, this is where you enter the % Sales Tax. The sales tax will be calculated on the Check-out / Rentals screen as you add items to the rental record.
Logo on Receipts? If you wish to include your school logo on the Checkout/Rental Receipts - Select 'Yes'. Be sure to load the logo on the right side of the form so it can be used on the receipts.