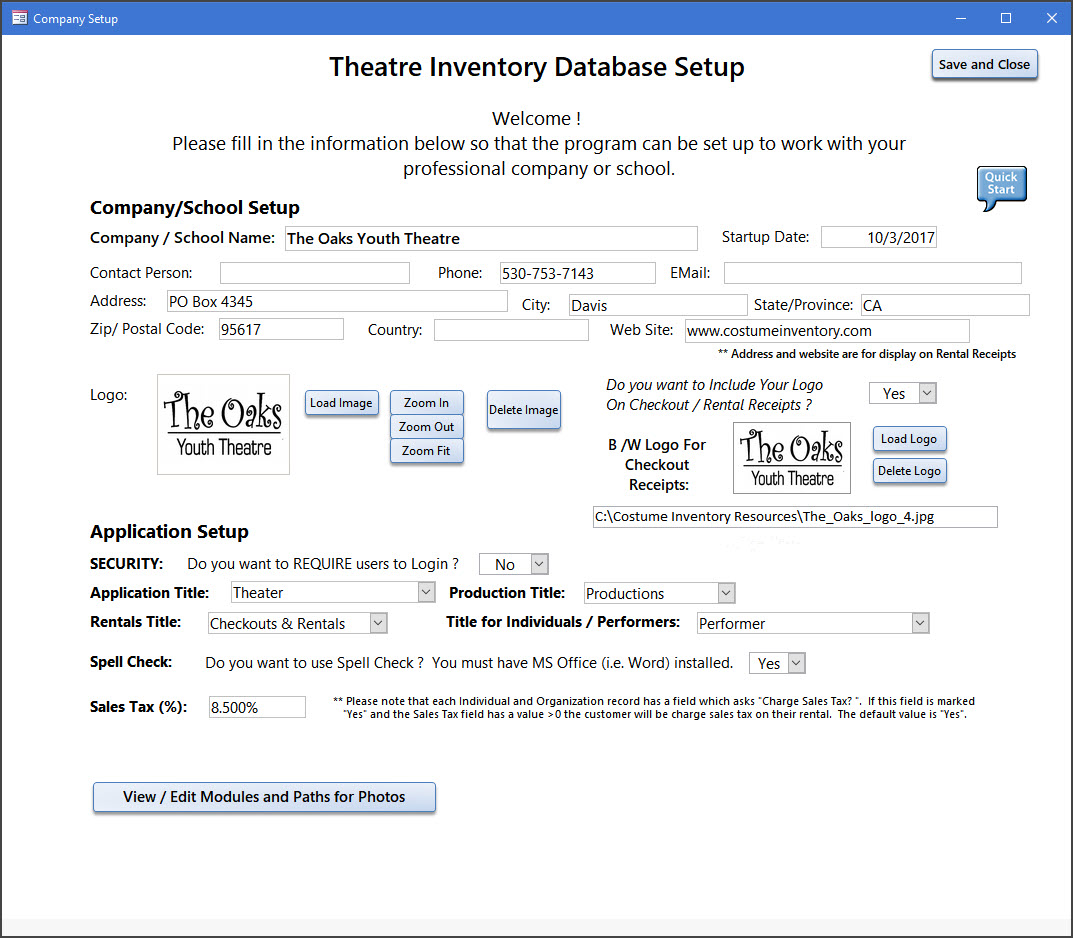
Enter your company/ school name. Click ‘Load’ to insert your logo / image file. The Company name, address and phone number will be displayed on the Rental / Check-out Receipts. If you fill in the Company name - this screen will not appear automatically again. If you leave the Company Name blank - this screen will appear every time you open the database.
For more information - Go to the Utilities section.
Application Setup:
Security: You may select to require users to Log-in with a username and password. If you Require users to log-in you will need to set up user accounts for each person and set the security level (Admin, Staff, Read-only). See the Utilities / Staff section to add / edit users.
Application Titles: You may select the text to see for the Application title (Theatre Inventory Database, Costume Inventory Database, etc) , the Productions title (Productions, Performances, etc), the Rentals title and the Performer/Individual title. To update the list of options for each title, go to the Utilities Main Menu and look for the update form for each one.
Spell Check: If you have the full version of MS Office (not the Run-time) you may choose to include a spell check button on the Costumes and Props screens. The button is very small but you can see it next to the Print button. Clicking on the button will start a Spell check for the current record. This is not a spell-check-as-you-type system but a check on demand.
Sales Tax: If your organization charges Sales Tax on rentals, this is where you enter the % Sales Tax. The sales tax will be calculated on the Check-out / Rentals screen as you add items to the rental record. In the Organization screen (where you enter the Renter's contact / shipping information) you have the option to charge / not charge Sales Tax.
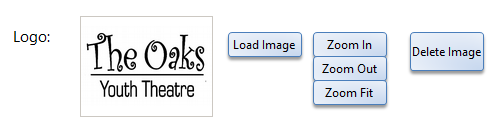
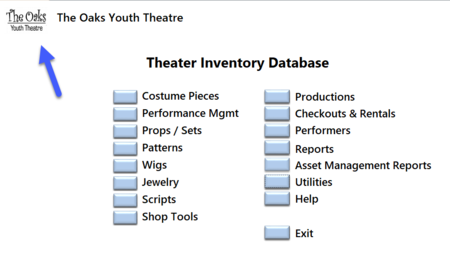
Application Logo: You can load your organization logo to appear on the Main Menu. Click on the Load Image button, select the image.
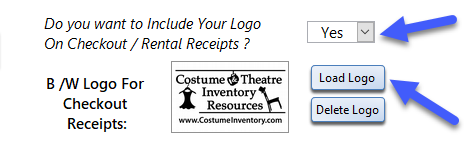
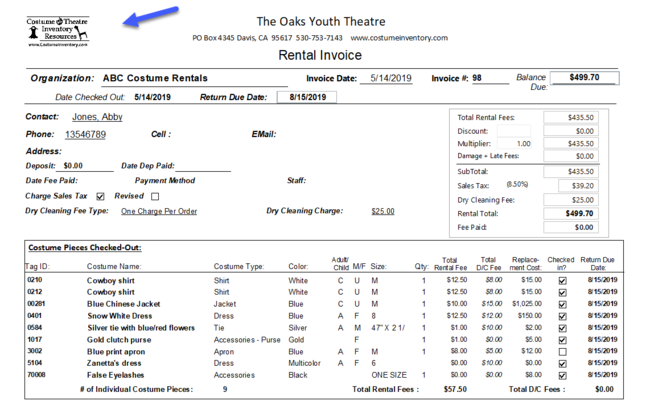
Logo for Rental Receipts: Your organization logo (in black and white) can be printed on the top left corner of the receipts/invoices.
Add the logo from the Company Setup screen. Be sure to click on "Yes" for "Do you want to Include Your Logo on Checkout/Rental Receipts ?"