There are six photo fields in the Costume Piece record. You may add an image file (.jpg or .bmp or .png). If you are using a webcam it is best to take the photos of the costumes, bring them into the computer, modify and condense the images if necessary, rename them and then load them into the record. See Appendix G for more info on photos.
Look at our website Tutorial on how to load photos.
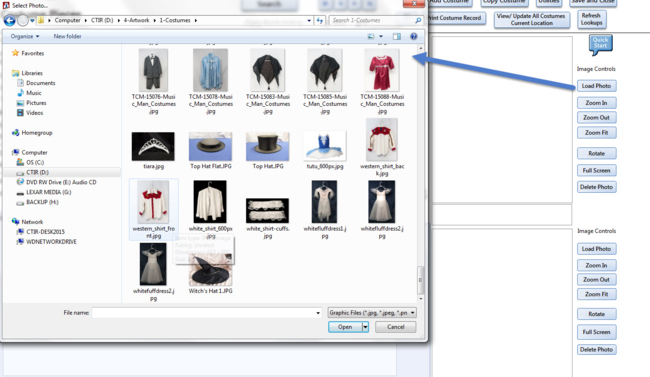
To Load an image file - just click on the "Load" button to the right of the image. A "Browse" window will open and allow you to select a file to place in the record. The Browse window will open the folder listed for the “Path for Photos - Costumes” on the Modules form (See the Utilities Menu). The database uses a special program called DBPix which will load the link (path\filename) to the photo. For photos 2 - 6 - just click on the tab to go to the correct photo and click on the Load Photos button.
Full Screen / Double-Click: If you double-click on the image it will open to a full screen view.
Zoom - In/Out/Fit: These buttons allow you to zoom in and out of the image on the screen to see details better.
Rotate Image: The image can be rotated by pointing to the image, using the right mouse button, and selecting Rotate. The rotated image will be displayed correctly temporarily in the Costume Piece form but not in the reports or the Full Screen form. The rotation will not be saved and the image will revert to it’s original orientation. It would be a good idea to fix the rotation in a software like Microsoft Office Picture Manager of Photo Gallery or another image processing software before importing it into the database.
Full Screen: The Full Screen button will open a new window which will display a larger view of the photo. You may still Zoom In and Out on this view. (As a reminder, a rotated image will be displayed in it’s un-rotated view.)
Delete Photo:The link to the image is deleted but the actual photo file remains unchanged.
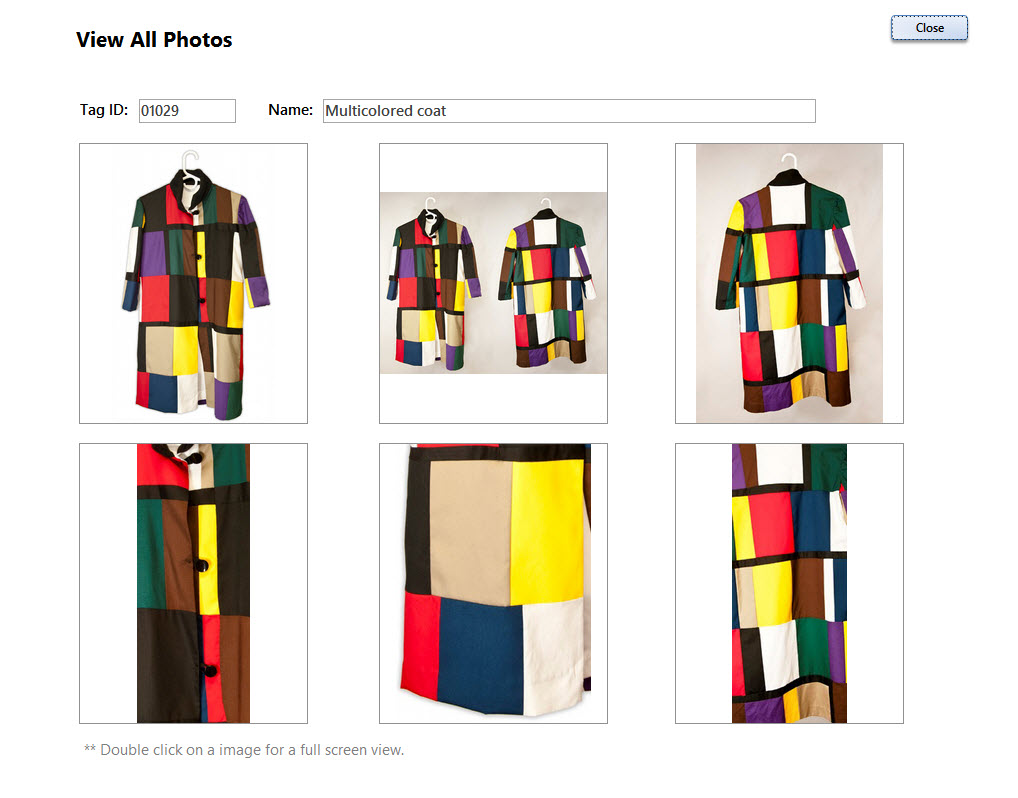
View All Photos: New in version 6 is the option to have 6 photos. Only 2 photos show at a time. To see all 6 - click on the View All Photos button. A popup screen will appear that shows all 6 photos.